How to Start a Car After Fuel Filter Replacement?
If you just swapped out your fuel filter and now your engine cranks and cranks without firing up, don’t panic — and don’t reach for the starter fluid just yet. Knowing how to start a car after fuel filter replacement is less about brute force and more about understanding one simple fact: your fuel system just had air introduced into it, and that air has to work its way out before fuel can reach the engine again.
This happens to seasoned DIYers and first-timers alike. You did the job right, but the car still hesitates, sputters, or refuses to catch on the first few tries. That’s normal. This guide walks you through exactly why it happens, how to start the engine safely, and what to do if it still won’t start after a reasonable number of attempts — whether you’re driving a gas-powered daily driver or a diesel truck.
Why Your Car Won’t Start Right Away After a Fuel Filter Change
Every fuel system relies on constant, unbroken fuel pressure to run correctly. The moment you disconnect a fuel line to swap the filter, you break that seal — and air rushes in to fill the gap.
Air doesn’t compress and ignite the way atomized fuel does. Until that air is purged from the lines and the fuel rail is fully re-pressurized, the engine will crank without starting, or start briefly and stall.
This is expected, not a sign you did something wrong. The real question is how long it should take and when extended cranking becomes a red flag for something else — a bad connection, a damaged O-ring, or an unprimed pump.
Step-by-Step: How to Start a Car After Fuel Filter Change
Follow this sequence rather than just turning the key repeatedly. It mirrors how professional technicians re-prime a fuel system after service.
- Double-check your connections. Before turning the key, visually confirm the filter is seated correctly and all clamps, clips, or fittings are fully secured. A loose connection here is the #1 cause of “won’t start” complaints after a filter job.
- Cycle the key to “on” without cranking, 2–3 times. Turn the key to the “on” position (engine off) for 2–3 seconds, then back to off. Repeat this two or three times. This activates the fuel pump in short bursts, building pressure in the line before you actually try to start the engine.
- Check for fuel leaks. With the pump primed, look and smell around the filter housing and fittings for any dripping fuel. Stop immediately and address a leak before proceeding — this is a fire hazard.
- Crank the engine in short bursts. Turn the key to start for no more than 10 seconds at a time, then release and pause 10–15 seconds before trying again. This protects your starter motor from overheating while air continues clearing the lines.
- Expect a rough start. The engine may sputter, run unevenly, or briefly stall on the first successful start. This is normal as the last pockets of air work through the injectors.
- Let it idle 60–90 seconds once running. Don’t rev the engine immediately. Letting it idle allows fuel pressure and delivery to stabilize fully.
- Take it for a short, gentle test drive. Light acceleration over a mile or two confirms the system is delivering fuel consistently under load, not just at idle.
If It Still Won’t Start After 3–4 Attempts
- Stop cranking. Repeated long cranks can drain your battery or damage the starter.
- Recheck every fitting you touched during the filter swap for a loose clamp or misaligned quick-connect.
- On fuel-injected gas engines, listen for the fuel pump priming hum (2–3 seconds) when you turn the key to “on.” No hum may indicate a pump relay, fuse, or wiring issue unrelated to the filter itself.
- On diesel engines, you likely need to manually bleed the fuel system — see below.
Diesel vs. Gasoline: A Critical Difference in Starting Procedure
This is where a lot of DIYers get tripped up, so it’s worth its own section.
Gasoline fuel-injected systems are typically self-priming. The electric fuel pump builds pressure automatically within a few key cycles, which is why the step-by-step method above usually works without extra tools.
Diesel systems, on the other hand, are far more sensitive to air in the lines because diesel injection relies on precise high-pressure delivery. Most diesel trucks and cars require manual bleeding after a filter change:
- Locate the manual priming pump (often a rubber bulb or lever near the filter housing) or the bleed screw on top of the filter head.
- Pump the priming bulb, or loosen the bleed screw slightly, until fuel flows out free of air bubbles.
- Retighten the bleed screw before cranking.
- Some newer diesels use an electronic lift pump that self-primes with several key cycles — check your owner’s manual, since procedures vary significantly by make (Ford Power Stroke, Duramax, and Cummins each have slightly different bleeding points).
Skipping this step on a diesel is the single most common reason trucks won’t start after a filter change — it’s not a fuel filter problem at that point, it’s simply trapped air with nowhere to go.
Understanding Your Fuel Filter: Why This Job Matters
A quick refresher helps explain why proper priming matters so much.
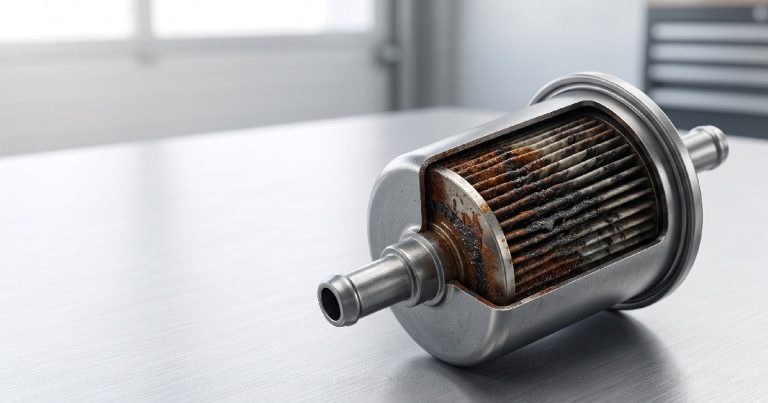
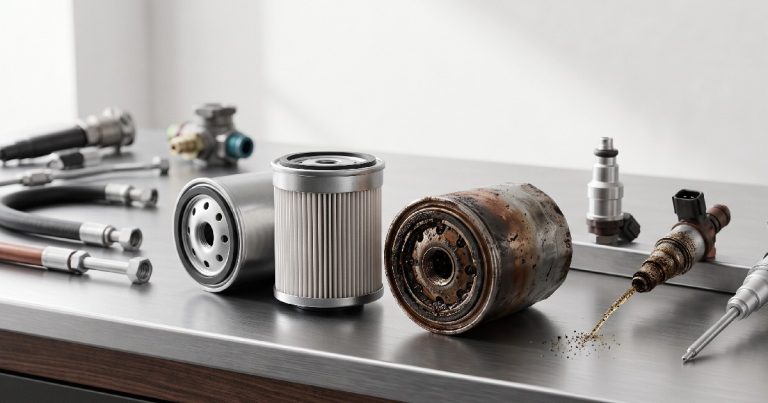
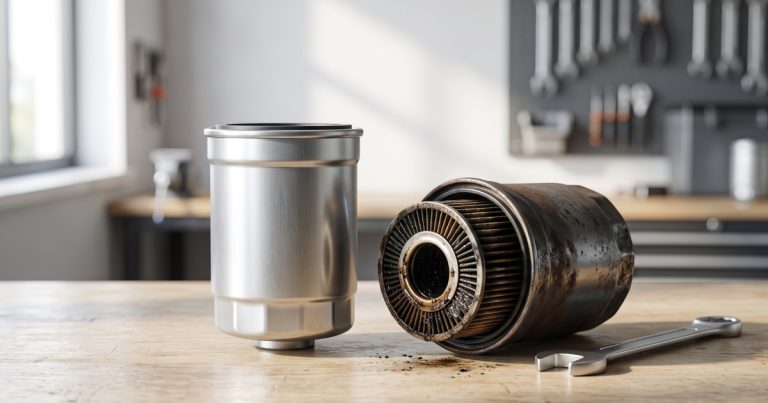
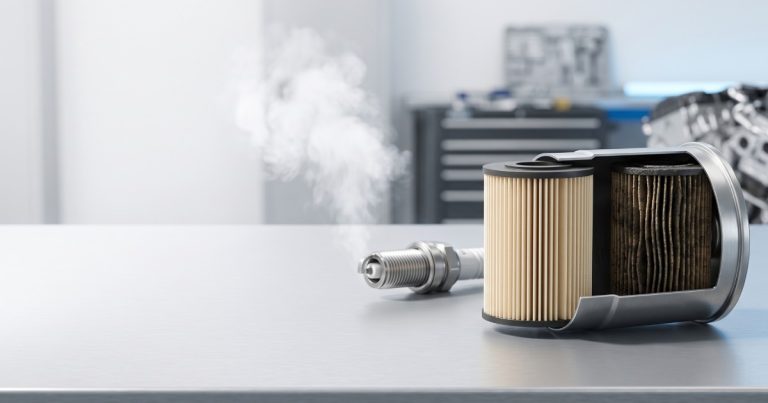
Fuel filters remove contaminants — rust particles, dirt, and sediment — before fuel reaches sensitive injectors or a carburetor. Most modern filters use pleated paper media rated for a specific micron size (commonly 10–30 microns for gasoline, tighter tolerances for diesel and direct-injection systems), backed by a fine mesh screen for structural support.
Common filter locations:
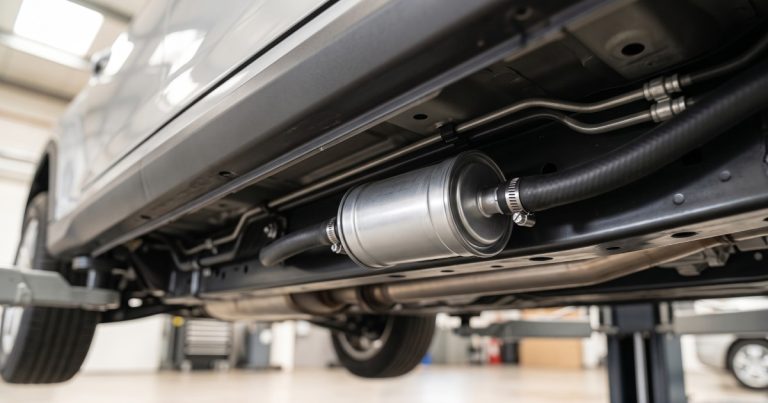
- Inline — mounted along the fuel line, often under the vehicle near the fuel tank or along the frame rail
- In-tank — integrated with the fuel pump assembly inside the tank (common on many modern gas vehicles)
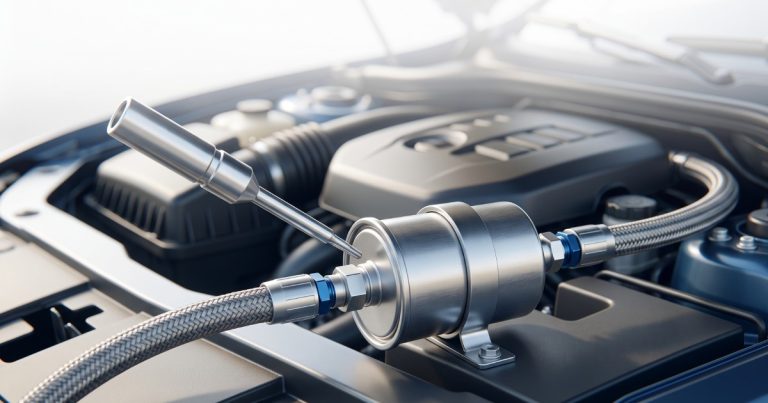
- Under-hood canister — a spin-on cartridge type near the engine bay, more common on older vehicles and many diesels
Signs Your Old Filter Needed Replacing
- Hesitation or stumbling during acceleration, especially under load
- Rough or unstable idle
- Engine stalling unexpectedly, particularly at highway speeds
- Difficulty starting even before any repair work began
- Reduced fuel economy
- In severe cases, complete failure to start due to a fully clogged filter starving the engine of fuel
Recommended Replacement Intervals
- Gasoline vehicles: typically every 20,000–40,000 miles, though in-tank filters on some models are rated for 100,000+ miles or “lifetime” (check your manufacturer’s schedule)
- Diesel vehicles: every 10,000–15,000 miles due to higher contamination sensitivity, or per manufacturer guidance
- Always verify against your specific make and model’s maintenance schedule, since intervals vary widely
OEM vs. Aftermarket Filters: What Actually Matters
| Factor | OEM Filter | Quality Aftermarket |
|---|---|---|
| Fit precision | Guaranteed exact fit | Usually accurate, verify part number |
| Micron rating | Matches manufacturer spec | Varies by brand — check spec sheet |
| Cost | Higher | Often 20–40% less |
| Availability | Dealer/authorized retailers | Wide availability |
| Diesel systems | Often recommended | Stick to reputable brands (Fleetguard, Baldwin, WIX) |
For diesel and direct-injection gas engines, sticking closer to OEM or a well-reviewed name-brand filter is worth the extra cost — the tolerances matter more when a clogged or wrong-spec filter can damage a high-pressure pump.
Tools and Cost: What to Expect for the Job Itself
Typical tools needed:
- Fuel line disconnect tool (for quick-connect fittings)
- Basic wrench/socket set
- Shop rags and a drain pan
- Safety glasses and nitrile gloves
- Manual priming bulb or bleed kit (diesel only)
Estimated cost and time:
- DIY parts cost: $15–$60 for gas filters; $30–$90 for diesel filters
- Professional labor: $50–$150, depending on filter location and accessibility
- Labor time: 30 minutes to over an hour if the filter is in a hard-to-reach spot (in-tank filters often require dropping the tank, which pushes both time and cost higher)
If your filter is in-tank and integrated with the pump assembly, professional replacement is often worth it — the labor complexity and risk of damaging the pump wiring is higher than a simple inline swap.
Safety Warnings Before You Start
- Relieve fuel system pressure first. Most gas systems have a Schrader valve or require pulling the fuel pump fuse and running the engine until it stalls to depressurize the line before disconnecting anything.
- Work away from open flames, sparks, or lit cigarettes. Fuel vapor is highly flammable.
- Have a Class B fire extinguisher nearby as a precaution during the job.
- Dispose of the old filter and any spilled fuel properly — most auto parts stores and municipal hazardous waste facilities accept used filters.
- Never siphon fuel by mouth, and keep rags soaked in fuel in a sealed metal container until disposal.
Quick Maintenance Checklist
- Confirm correct filter part number for your make/model/year
- Relieve fuel system pressure before disconnecting lines
- Replace filter with correct flow direction (check arrow markings)
- Inspect old filter for debris — a sign of a bigger fuel system issue
- Prime the system per the steps above (or bleed manually on diesels)
- Check for leaks before and after starting
- Log the replacement date/mileage for your next service interval
How to Start a Car After Replacing a Fuel Pump
The priming logic above applies almost identically after replacing a fuel pump, since a pump swap also introduces air into the system. Cycle the key to “on” 2–3 times without cranking to let the pump build pressure, check for leaks around the tank access panel or fittings, then crank in short bursts. Fuel pump replacements often take slightly longer to prime fully since more of the line was opened during the job — don’t be surprised if it takes a few extra cycles compared to a filter-only swap.
FAQ: People Also Ask
Why does my car crank but not start after a fuel filter change? This almost always means air is still trapped in the fuel line. Cycle the ignition to “on” a few times without cranking to let the pump re-pressurize the system, then try starting again in short bursts.
How long does it take for fuel pressure to build after a filter replacement? Usually just a few seconds to a couple of minutes with the key-cycling method. Diesel systems requiring manual bleeding can take slightly longer depending on line length.
Is it normal for the engine to run rough right after a fuel filter change? Yes, briefly. Residual air working through the injectors can cause a rough idle or minor stalling for the first minute or so before it smooths out.
Can a bad fuel filter installation cause a no-start condition? Yes — a loose fitting, wrong flow direction, or damaged O-ring can prevent pressure from building at all. Recheck all connections if the engine won’t start after several priming attempts.
Do diesel trucks need special steps to start after a fuel filter change? Yes. Most diesels need manual bleeding using a priming bulb or bleed screw to remove trapped air before the engine will start reliably.
How often should I replace my fuel filter? Generally every 20,000–40,000 miles for gasoline vehicles and 10,000–15,000 miles for diesels, though this varies by manufacturer — always check your specific maintenance schedule.